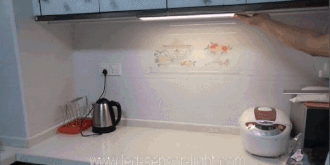
How To Install Kitchen Under Cabinet Lighting ?
Step 1: Create a clean work space
Clear out all of the kitchen cabinets and countertops to make room for the installation. This step might seem simple but it is really important and will make the project go much smoother!
We plugged all of our cabinet lighting into the electrical outlet in the cabinet located over the microwave. Make sure you clean out all the cabinets that will be used, especially the one above the microwave.
Using an electrical outlet inside of the cabinets keeps all of the cords hidden!
Step 2: Drill Holes For Wires In Cabinets
Taking a drill bit to your nice kitchen cabinets might seem scary, but trust me, you’ve got this! All of the kitchen under cabinet lighting electrical wires will lead back to the cabinet above the microwave.
Inside of the cabinet is where they will be plugged in. This makes the microwave cabinet a perfect place to start.
Use your drill and a drill bit to make holes in the side walls of the cabinet, near the bottom. Choose the smallest drill bit that is large enough for your electrical wires to fit though. We used a 3/8″ drill bit size.
You might have to get creative with how you hold the drill; see the pictures below. If you do end up needing to hold your drill in a nonconventional way, just remember to go slow and be safe. Power tools can be dangerous; always make safety a priority!
Step 3: Route Wires Through Cabinets
Use the holes that you drilled in step two as a pathway to string the electrical wires through.
Start at the top in the microwave cabinet, and pull the wires through the first hole. Continue to pull the wires down through the rest of the holes that lead down to where the under cabinet lights will go.
Make sure to leave the 120v electrical plugin up at the top where it will be plugged into the outlet in the final step. Don’t plug it in just yet though!
We want to make sure that nothing is energized until the very end when everything is finished and ready for final testing. This will minimize the risk of electrical shock.
Step 4: Mount The Under Cabinet Light Bars
Using your kitchen lighting layout plan to mark out exactly where the under cabinet light bars will mounted. Using a drill or screwdriver, fasten the light directly to the bottom of the cabinets.
Most under cabinet light fixtures come with the perfect size of screw included in the packaging. Be sure to use the included fasteners whenever possible.
Step 5: Hide And Secure The Power Cords
The lights you purchase should come with ‘wire straps’ to fasten loose wires to the cabinets. Use the included wire straps to hold electrical wires up and out of sight. The wire straps are will either be nail-on or screw-in, but both options work equally well.
The straps will keep your wires neat, and held up nicely out of sight. Pull the wires taught, and use your hammer or drill to fasten the straps directly to the bottom of the cabinets.
If you have a lot of extra electrical wire between two lights, coil a section into a loop and strap both sides of the loop. See the pictures below for examples.
Step 6: Plug in and Admire The New Lights!
You’re finished! Plug in your new kitchen under cabinet lights, then take a few steps back and to admire!
If you have multiple cabinet lights that need to be plugged in, you can put a small surge protector in the microwave cabinet.
-
 How to Install Heat Pad on Mirror?
Do you like ?0
Read more -
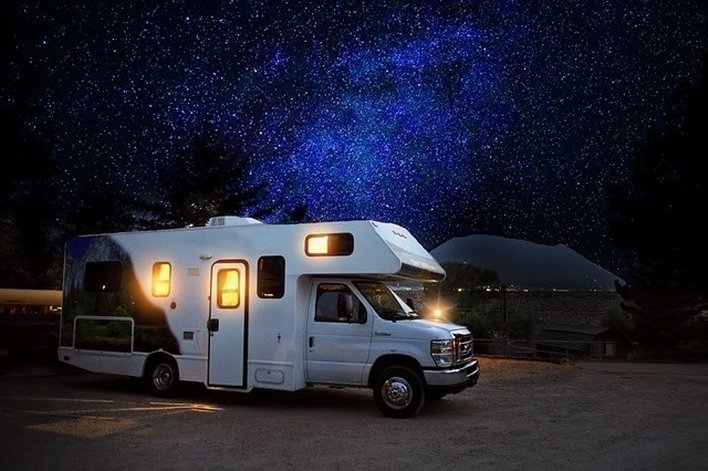 Why LED Lights are Perfect for RVs & Boats?
Do you like ?0
Read more -
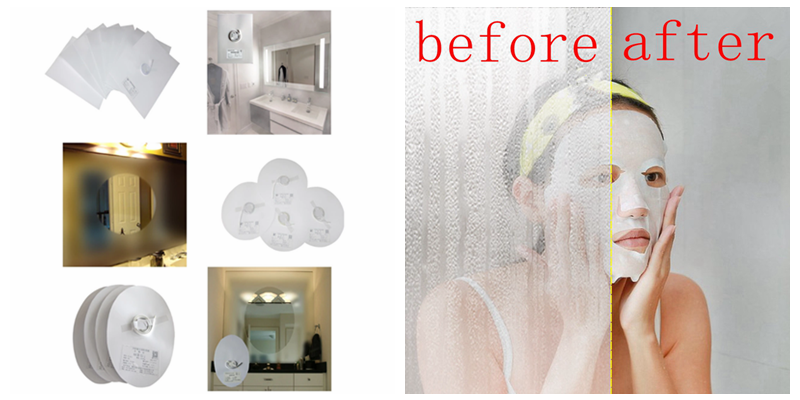
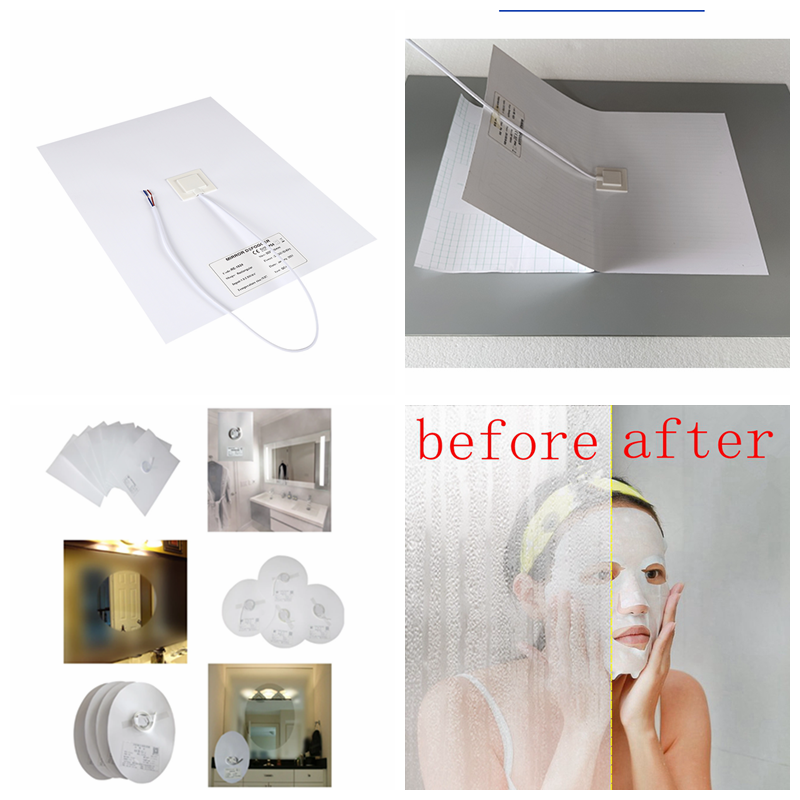 How Good Anti-fog Film for Mirror!
Do you like ?0
Read more -
 How do you choose which lights to buy for your RV’s interior?
Do you like ?0
Read more -
 What Are the Most Common Interior Lights Used by RV Manufacturers?
Do you like ?0
Read more -
 Do You Know The Great Uses for Puck Lights?
Do you like ?0
Read more