Last time we have talked the Step 1 for how to install under cabinet light. now we are talking the rest of it.
Step 2: Gathering my tools
Most under cabinet lighting installations require:
- Electric Drill
- Measuring Tape
- A Mechanical Pencil
I installed two light fixtures underneath cabinets that were separated by a microwave:
So, I needed additional tools to secure the linking cable on the wall directly underneath the microwave. I picked up coaxial staples from the local hardware store and used a hammer to secure them. It was an easy solution!

Step 3: Marking where the fixtures will go
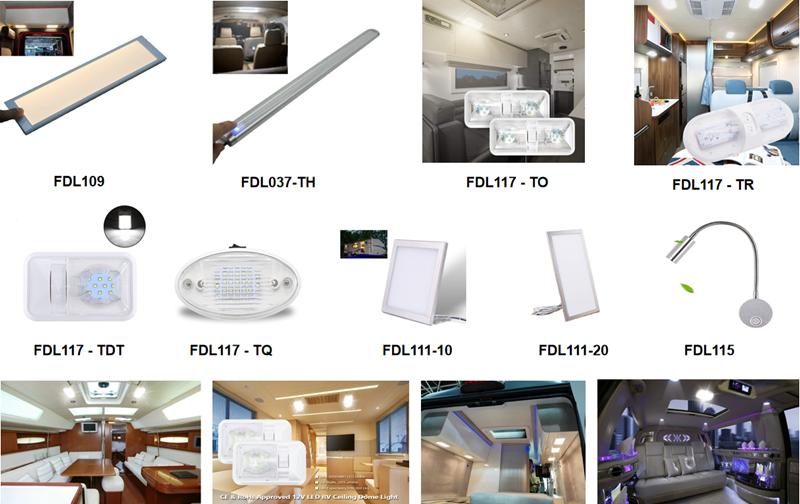
The under cabinet lighting fixtures I chose (led line viltage thin under cabinet task lights) included two mounting screws, so I wanted to mark the drilling locations.
To do this, I removed the lens cover from the light fixture and held the fixture underneath the cabinet in my desired location. Then, I poked my pencil through the small holes in the fixture that are designated for the mounting screws. I marked exactly where the screws should go.
Step 4: Drilling small holes underneath the cabinet for the mounting screws
Since I’d already marked the location of the holes, this step was fairly easy.
Step 5: Starting the screws in their holes
This made it easier to drill in the lighting fixture once it was in place.
Step 6: Finish installing the fixture
Holding the light fixture up, I used the electric drill to push the mounting screws through the fixture and into their holes.
That’s it! After the first fixture was installed, I attached the linking cable, ran it underneath the microwave, installed the second fixture, and plugged it all in using my 6-foot power cord.
Here are some additional photos:
-
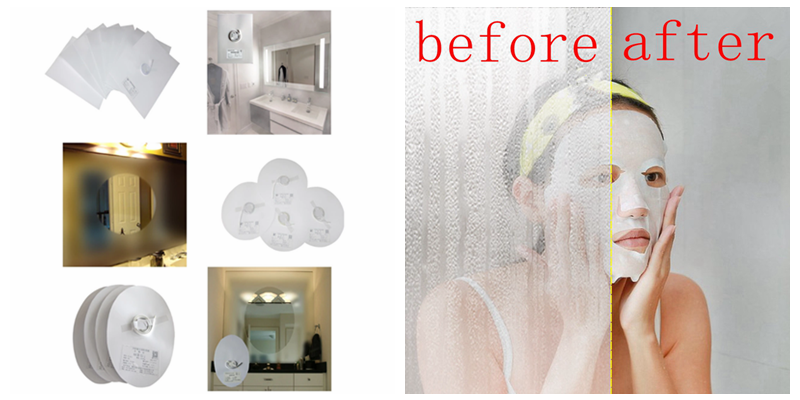 How to Install Heat Pad on Mirror?
Do you like ?0
Read more -
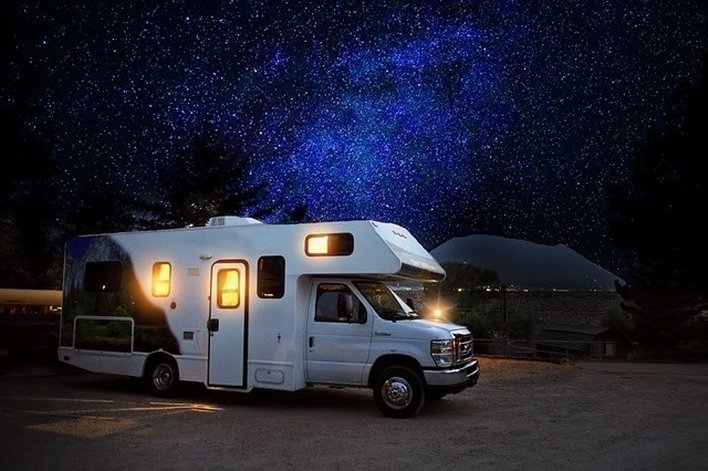 Why LED Lights are Perfect for RVs & Boats?
Do you like ?0
Read more -
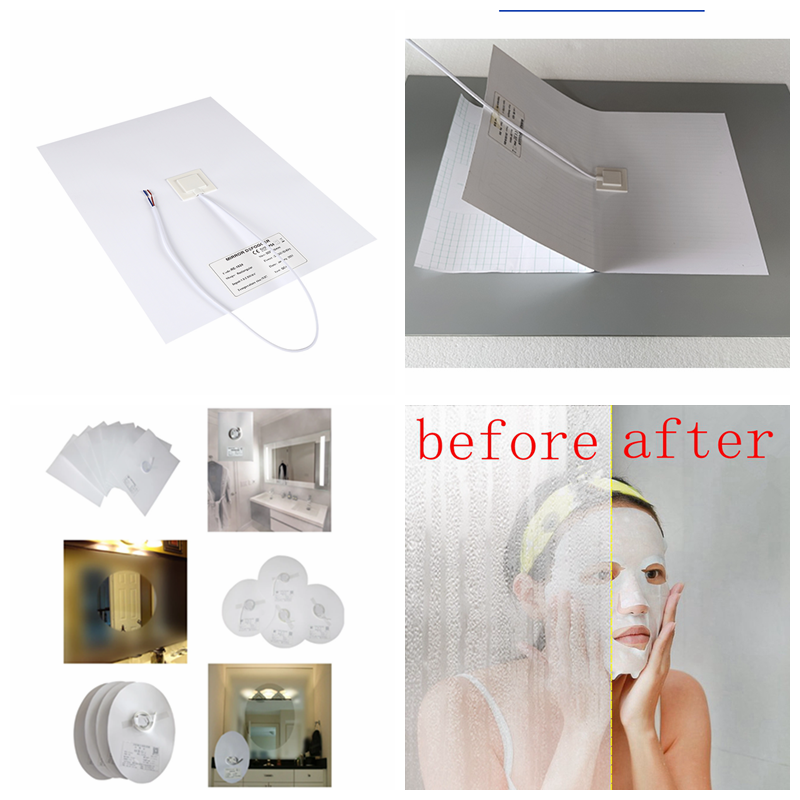 How Good Anti-fog Film for Mirror!
Do you like ?0
Read more -
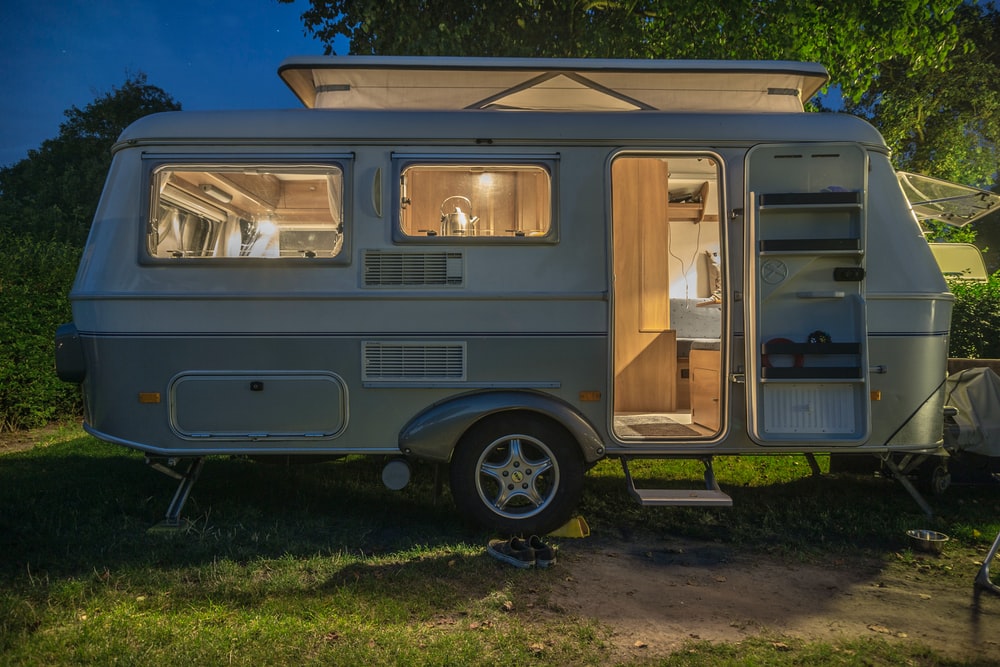 How do you choose which lights to buy for your RV’s interior?
Do you like ?0
Read more -
 What Are the Most Common Interior Lights Used by RV Manufacturers?
Do you like ?0
Read more -
 Do You Know The Great Uses for Puck Lights?
Do you like ?0
Read more