How Bias Lights Relieve Strain
So, how do you avoid the inevitable exposure to bright light while viewing your TV or monitor? The key is to increase the general luminance in the room without introducing problems that arise from just indiscriminately flipping all the lights on.
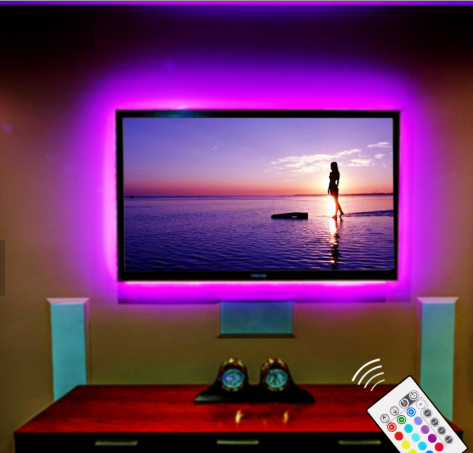
Let’s look at this 3D mockup of a pretty typical living room setup to illustrate how common lighting configurations are problematic for screen viewing (although this mockup is centered on an HDTV, the same lighting problems apply to workstations too).
In your typical living room or workspace, you have ceiling lights, floor lamps, and table lamps—all of which are typically located either above or, in the case of maps and accent lighting, in front of the screen at roughly the same height as the viewer’s head.
Turning on these lights while watching TV does in fact mitigate the issue of the bright screen framed against a very dim room. However, it introduces a whole new host of problems. Lighting that is to the side or behind the viewer projects light onto the viewing surface. This decreases contrast, introduces glare and haze to the image, and creates its own kind of eyestrain as a result. It may not be as intense as the kind of eyestrain you get staring bleary eyed at a bright TV in the dark, but it’s eye strain nonetheless—and it makes the picture look worse, to boot.
Unlike regular lighting, bias lighting is placed behind the screen you are viewing. This raises the surrounding light levels in your viewing area without shining light toward your eyes or toward the screen itself. Because the light originates outside of the sight line of the viewer and is not in a direct path to reflect onto the screen, you get all the benefits of increased light in the room without the problems of glare or light shining directly from the source into your eyes.
The Additional Benefits of Bias Lighting
If you still need some convincing that extends beyond saving your poor eyes from fatigue, then consider two other great benefits. First, the additional indirect lighting provided by the bias lighting increases the contrast of the on-screen image, making your picture look better.
Refer to the optical illusion image above to see the effect made apparent. The bar that stretches across the center of the image is one constant shade of gray (RGB: 142, 142, 142) but it appears to be lighter in on the dark side of the gradient and darker on the light side of the gradient. This illusion, known as the simultaneous contrast illusion, illustrates how your eyes perceive gray to be darker and richer when seen against a lighter background (on the right side), but more washed out when seen against a dark background (on the left side). Illuminate the wall behind your screen and the same contrast illusion takes effect: the grays and blacks on your screen appear richer, and the contrast seems stronger between them and the surrounding area.
Related to that previous trick, many people adjust the values for brightness and contrast to higher levels in order to get the intensity of color and black contrast they desire. If the environment you’re watching the screen in already helps boost the contrast and create a better looking image on the screen, then you can turn the brightness back down. Not only will your eyes thank you because the screen isn’t shining at your face like a headlamp, but you’ll extend the life of the backlight mechanism in your HDTV or monitor.
Eye fatigue reduction, better looking images, and a longer life for your monitor’s backlight? What’s not to love about bias lighting? Let’s take a look at how to set it up so you don’t have to live another day with screen-induced eyestrain and washed-out pictures.
How to Select and Set Up Bias Lighting
At this point you’re probably thinking “okay, okay, you’ve got me. Bias lighting sounds great, and I want it. Just tell me how much it costs so I can get over the shock.” Fortunately for you, it’s really cheap to implement a perfectly functional bias lighting system.
Don’t get us wrong, there are very pricey ways to go about doing it (such as purchasing a Philips TV equipped with their custom color-shifting bias lighting Ambilight system) but there’s absolutely no need to incur such expenses when there are plenty of inexpensive alternatives.
First, let’s break down what makes for a good bias light and why. Then, let’s look at some economical DIY and off-the-shelf solutions.
Selecting a Bias Light
The most important thing to consider when selecting a bias light for your television (aside from the physical consideration of whether the light actually fits behind the screen) is the color temperature.
Light bulbs have a color temperature listed using the Kelvin Color Temperature Scale. The lower the number, the warmer and more red the light; the higher the number, the cooler and more blue the light. Candle flames are 1,900K. They are very warm and cast a reddish/yellow light. Standard incandescent light bulbs are approximately 2,800K and are still quite warm. “Cool White” or “Daylight” bulbs have color temperatures ranging from 5,000-6,500K.

While any bias lighting is better than no bias lighting as far as eye strain is concerned, if you want bias lighting that not only relieves your eye strain but actually makes the content you’re viewing look better, you’ll need the right bulb. You want a bulb temperature that is as close as possible (if not identical) to the reference point used in the industry that both manufactures the screens you’re looking and creates content for said screens. That temperature is 6500K.
The bulbs (be they CFL or LED) inside your HDTV or monitor are calibrated to 6500K. The film and digital video is color corrected to have a 6500K white reference point. The editing suites where content is edited and worked on have 6500K bias lights. Regardless of whether you use a fluorescent tube light, a strip of LEDs, or an incandescent light bulb, you want one with as close to a 6500K color temperature as you can get if your goal is to maximize the quality of the on-screen image.
This immediately rules out the majority of lighting we use around our homes, as there is a distinct consumer preference for warmer light. What makes for a homey and warm feeling in your abode makes for a poor bias light.
Picking a light with the right color temperature is likely all you need to do. However, if you’re dead set on getting the absolute best picture possible you may wish to also look at the Color Rendering Index (CRI) of the light bulb. This number is rarely listed on bulbs intended for household use, but with some careful digging (or by purchasing bulbs intended for hobby or commercial applications where the CRI is important) you can find the CRI value. A CRI of 90 out of 100 or above is the minimum you should aim for if you’re looking for maximum color clarity on your HDTV or computer monitor. This is definitely the province of people looking for an absolute picture perfect experience as opposed to simply relieving eyestrain. So unless you’re building the ultimate home theater setup—or you’re looking to break into video editing—you needn’t stress about getting a perfect CRI-rated bulb. A quality bulb with a 6500K color temperature is more than enough for just about everyone.
-
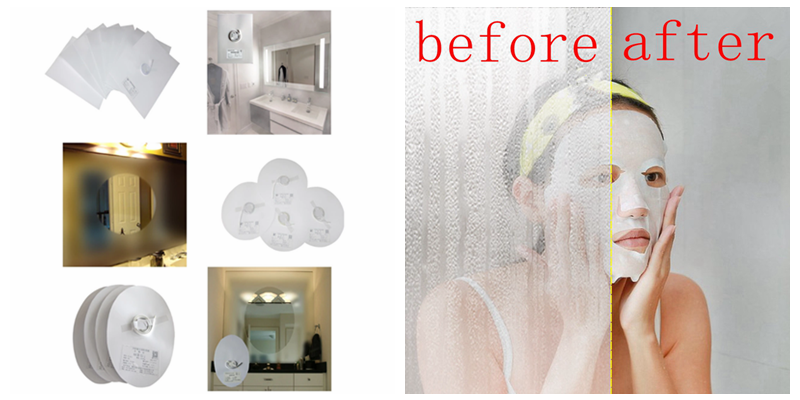 How to Install Heat Pad on Mirror?
Do you like ?0
Read more -
 Why LED Lights are Perfect for RVs & Boats?
Do you like ?0
Read more -
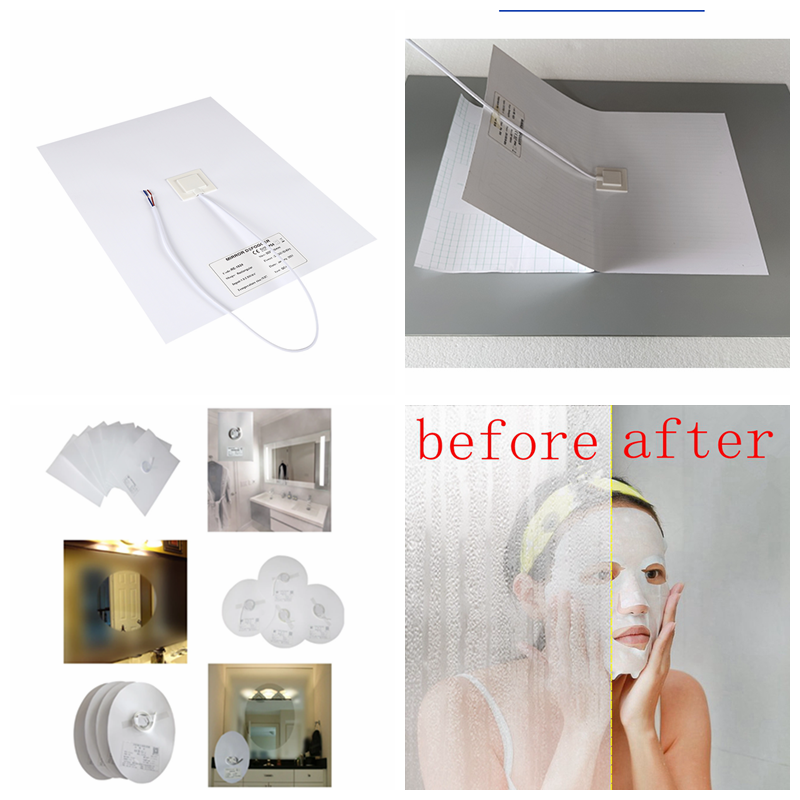 How Good Anti-fog Film for Mirror!
Do you like ?0
Read more -
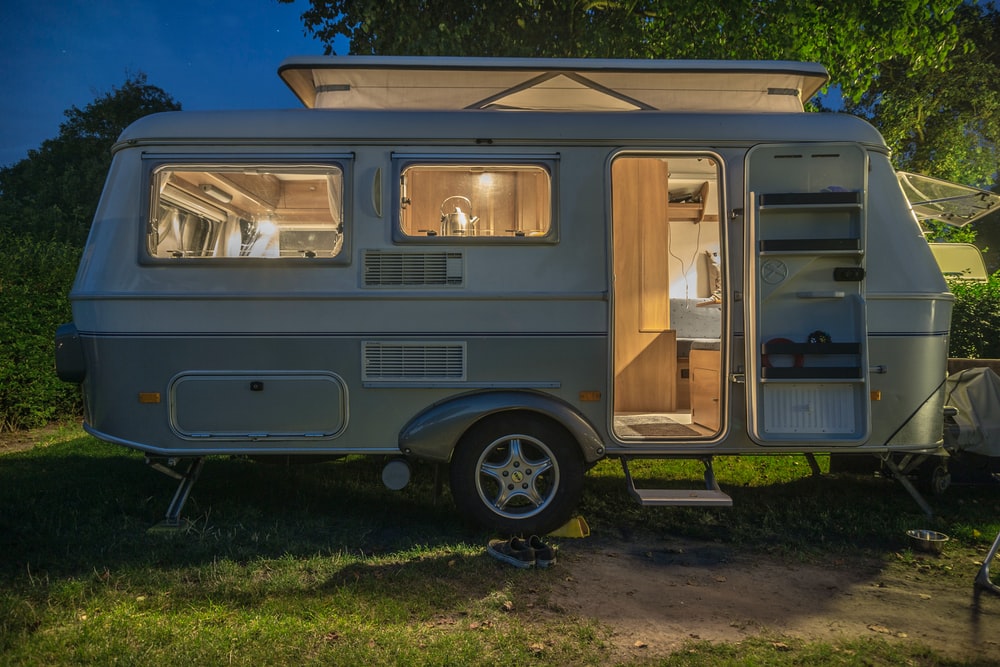 How do you choose which lights to buy for your RV’s interior?
Do you like ?0
Read more -
 What Are the Most Common Interior Lights Used by RV Manufacturers?
Do you like ?0
Read more -
 Do You Know The Great Uses for Puck Lights?
Do you like ?0
Read more